Last week we looked at how to re-sample (enlarge) your images so they are optimal for printing (see part 1). This week we will look at how we can fine tune the image further. In many cases part 1 will be all you need to do but the following is recommended if you are enlarging photographs of artwork you will be reproducing. Results will vary and may or may not be noticeable depending on the image and how extreme the enlargement process was. Me personally, I find it won't harm the image to do the next several steps and also have found that it can sometimes fix artifacting which can occur with JPG files that have been re-saved too many times. I should point out that our internal printing software will resample all images we print to 300 pixels/inch at the intended print size with a little better results than what you can get in Photoshop but generally you will get near the same results by doing the following process below.
Step 1 – Despecke
Taking up where we left off, the first thing we want to do is apply a "Despeckle" filter. Go to Filter > Noise > Despeckle. This will smooth the edges.
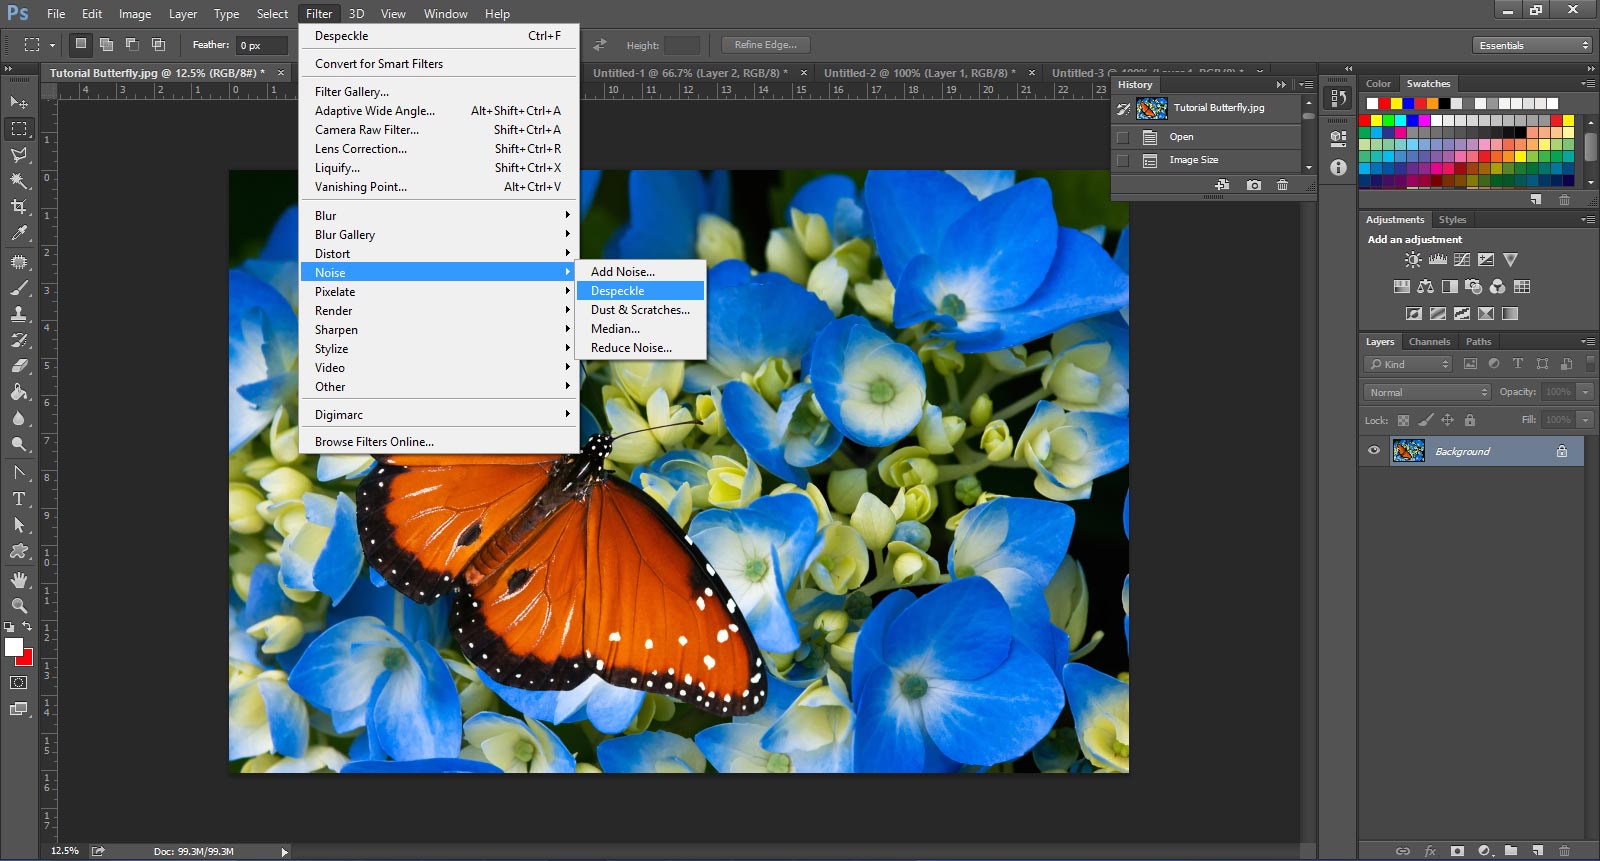
One thing I have noticed with this is many times photographs are not as in focus as you normally would think so you may not see a big difference if the shot was not initially as clear as you expected. The example below show the difference and you will have to look closely to be able to tell how it affects the image.


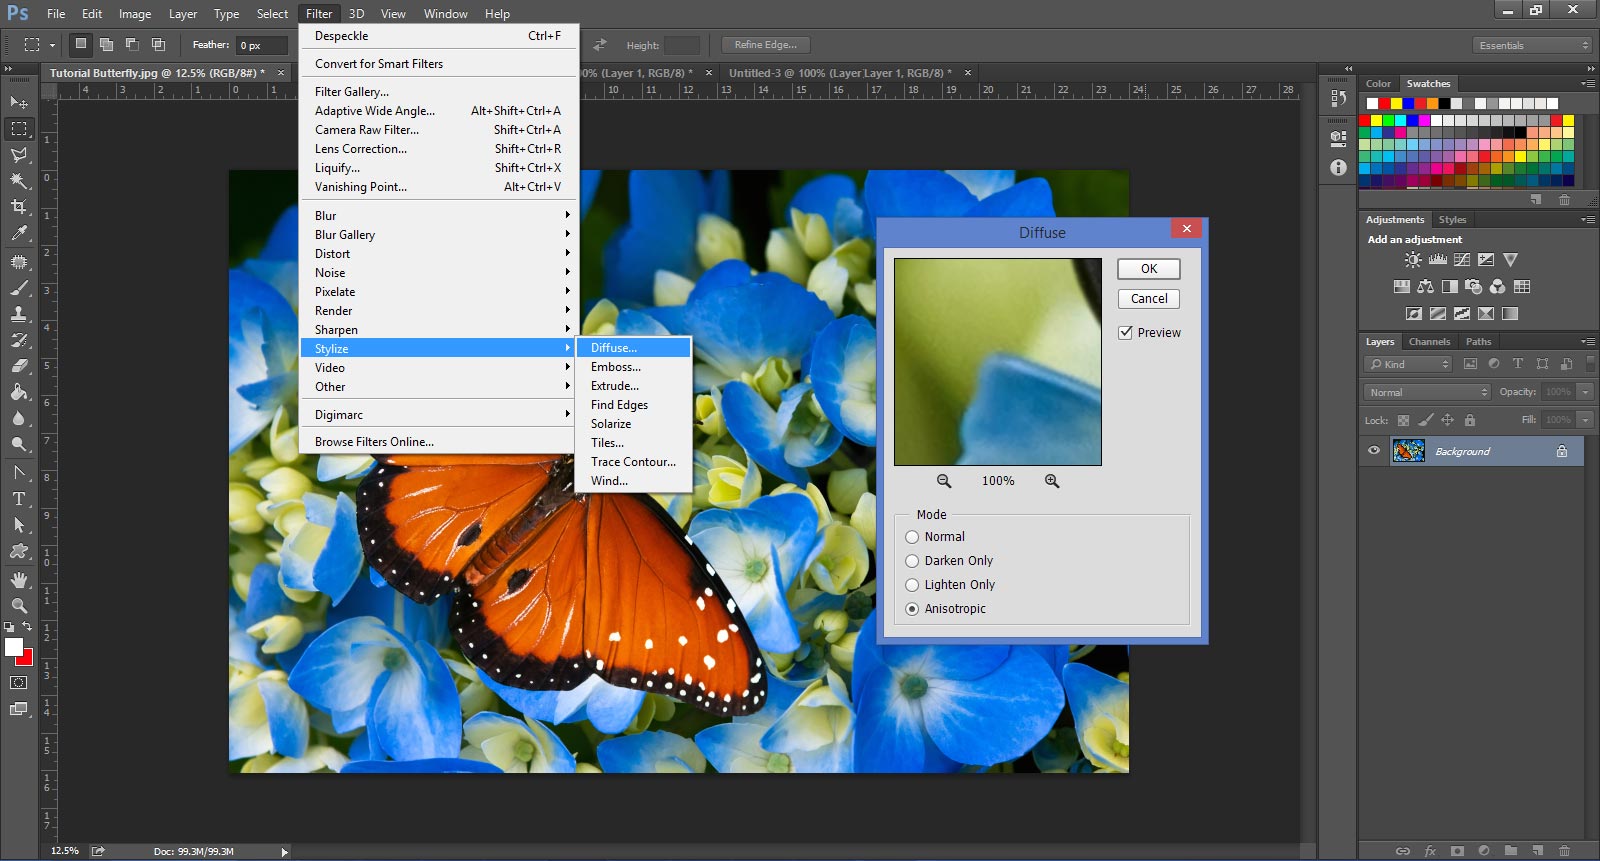
Step 2 – Smooth Edges
We now need to actually counteract what we just did by smoothing out the edges in the image. This is done by going to Filter > Stylize > Diffuse. You will wan to picture the "Anistropic" option for this.
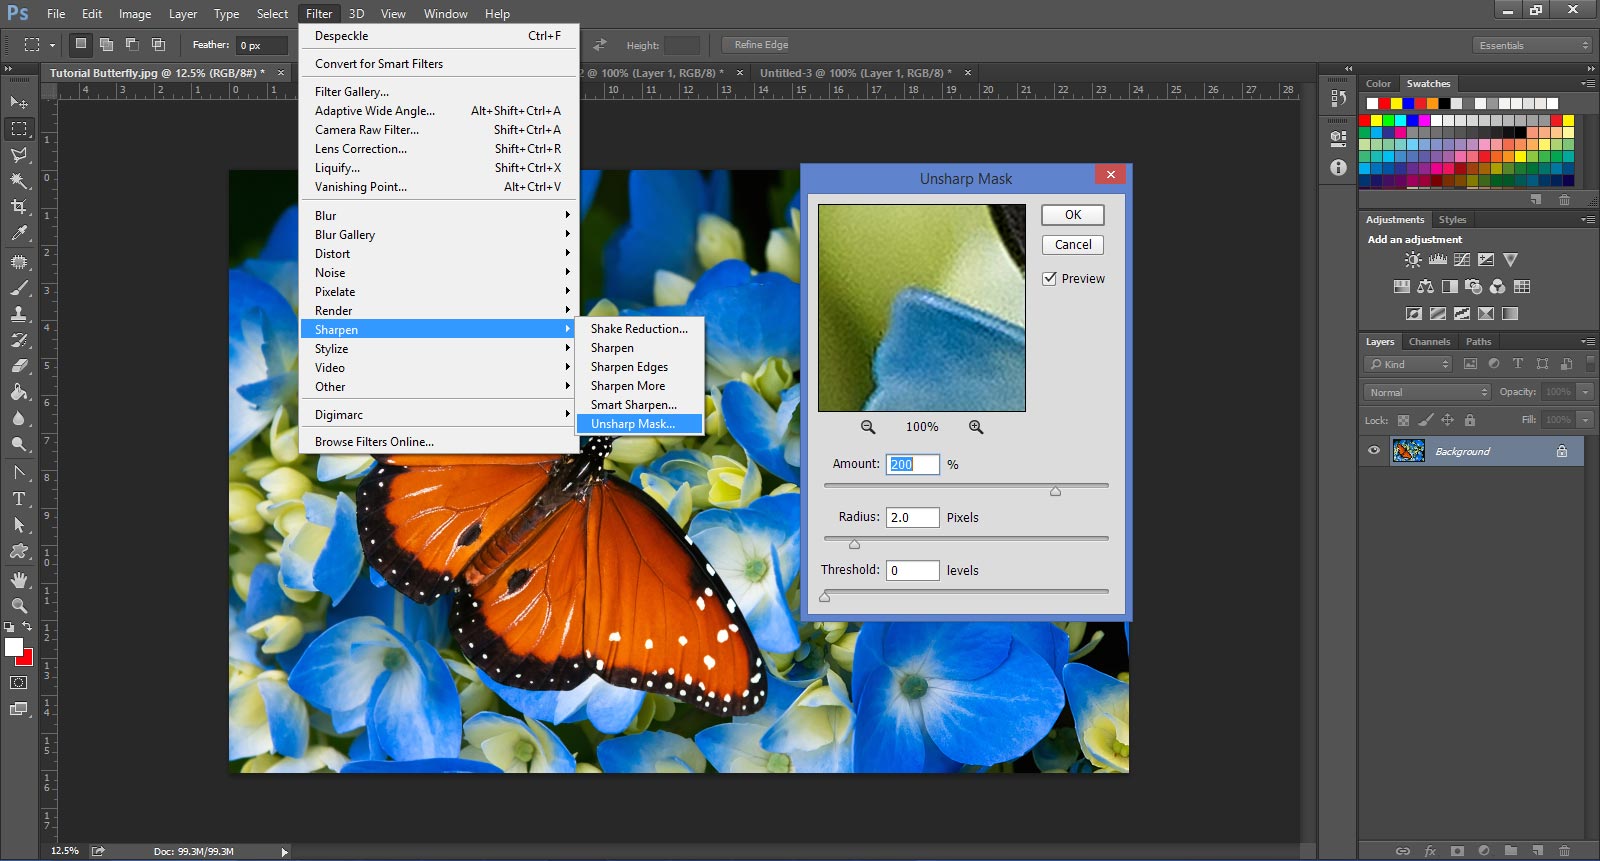
Step 3 – Apply Unsharp Mask
Following the previous step we need to apply the "Unsharp Mask". This is done through Filter > Sharpen > Unsharp Mask. The Amount should be set fairly high and the Radius low. Keep the Threshold at zero. You can play around with these and see what works best.
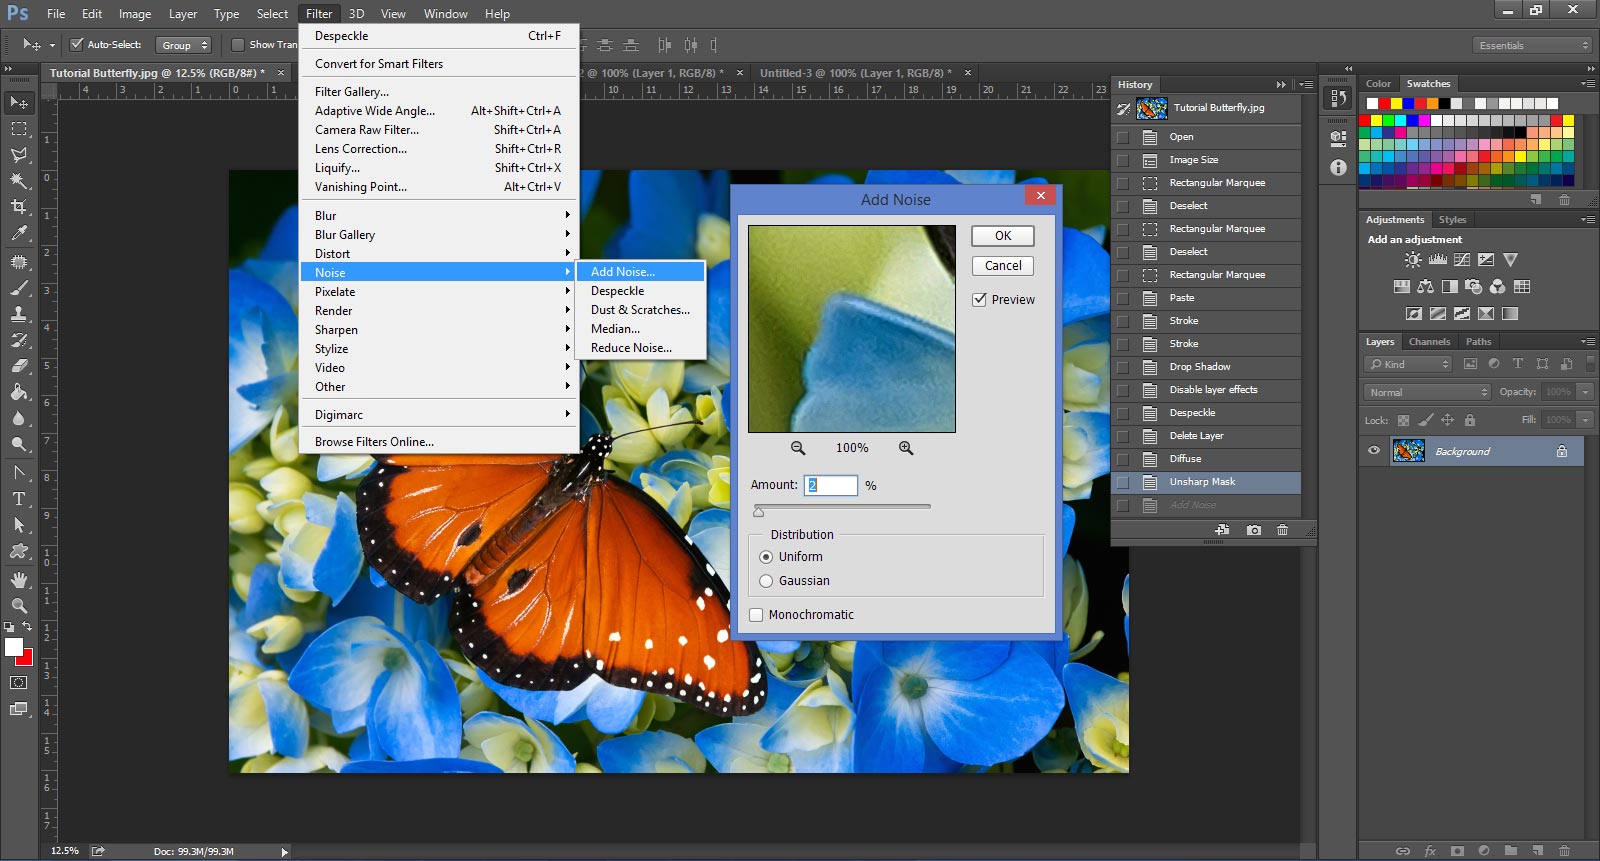
Step 4 – Add Some Noise
Finally we want to add some noise. Photos will always have a small amount of noise so we just want to even things out. Go to Filter > Noise > Add Noise and enter a small number. You don't want to overdo it. Make sure you have also selected Uniform and unchecked Monochromatic.
Step 5 – Review Results
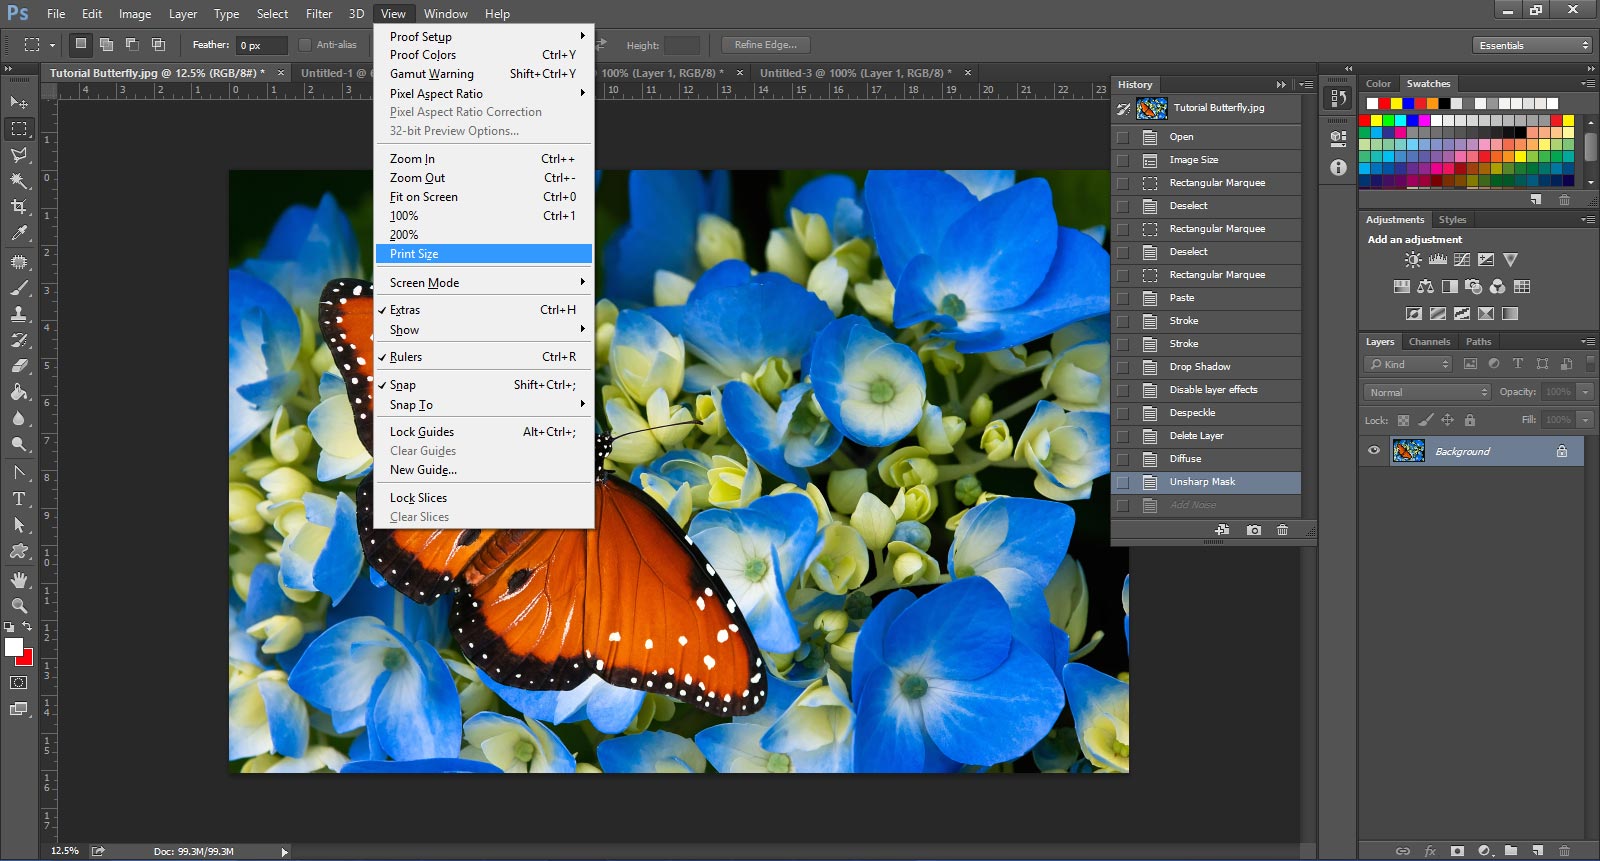
That's all there is too it. This step is not requited but if you want to see your image at "Print Size" go to View > Print Size. This will scale the image on your screen to sort of match the scale of the printed image. It's not exact so it may be off by a small percent but it will give you a very good way of know if your image will print okay without looking pixelated.
These steps are a little tedious so if you have some knowledge in creating automatic actions in Photoshop, I would recommend setting them up to be automatic if you have a lot of images you want to do this with. I know there is some great enlargement software out there so if you still don't think you are able to get the quality you want from blowing up large resolution images, you may want to explore some of those programs. Be aware that regardless of the enlargement scheme, you have to create pixels out of nothing. Results will vary from image to image so keep expectations reasonable and you should be happy overall.
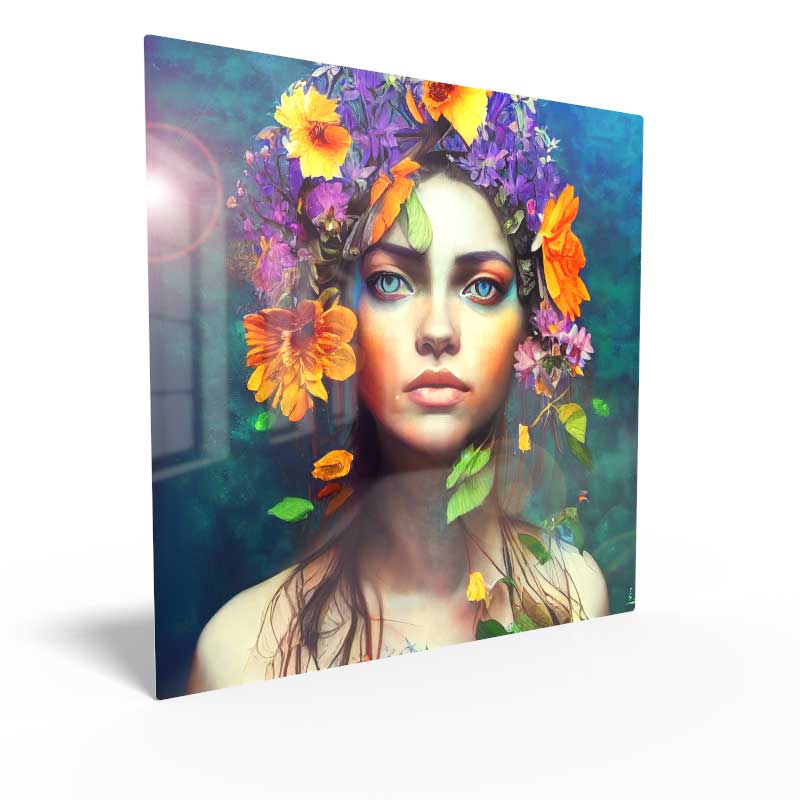
Order HD Chromaluxe® Metal Prints
Print your artwork or photography as custom-size metal prints. Using the dye-sublimation process, your image is fused to the surface of rigid aluminum panels. These provide a modern look when decorating your home or office. Choose from multiple metal surface options. Order it framed, with a float wall mounting or even with a tabletop easel back.