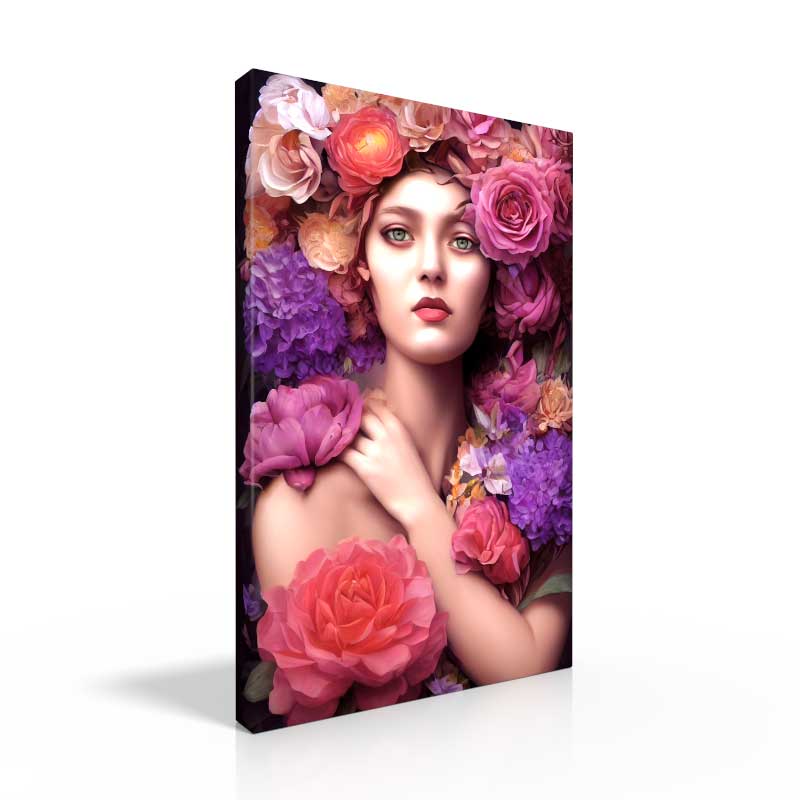
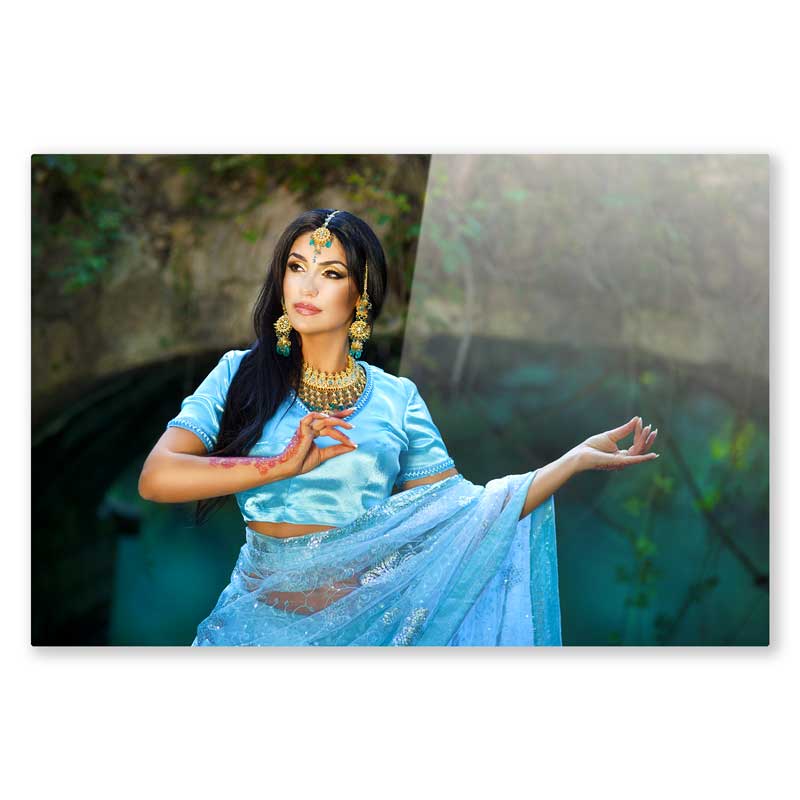
Giclee - Canvas Prints
High quality canvas prints, with multiple canvas surface options and mounting styles. When stretched & mounted, canvas prints are ultimate ready to hang wall décor for your art or photography.
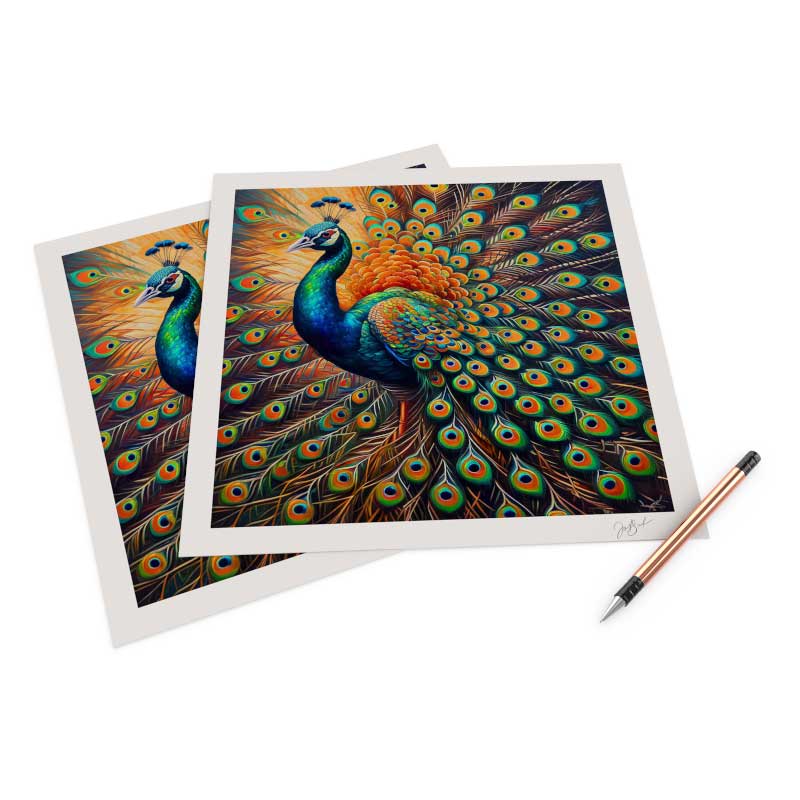
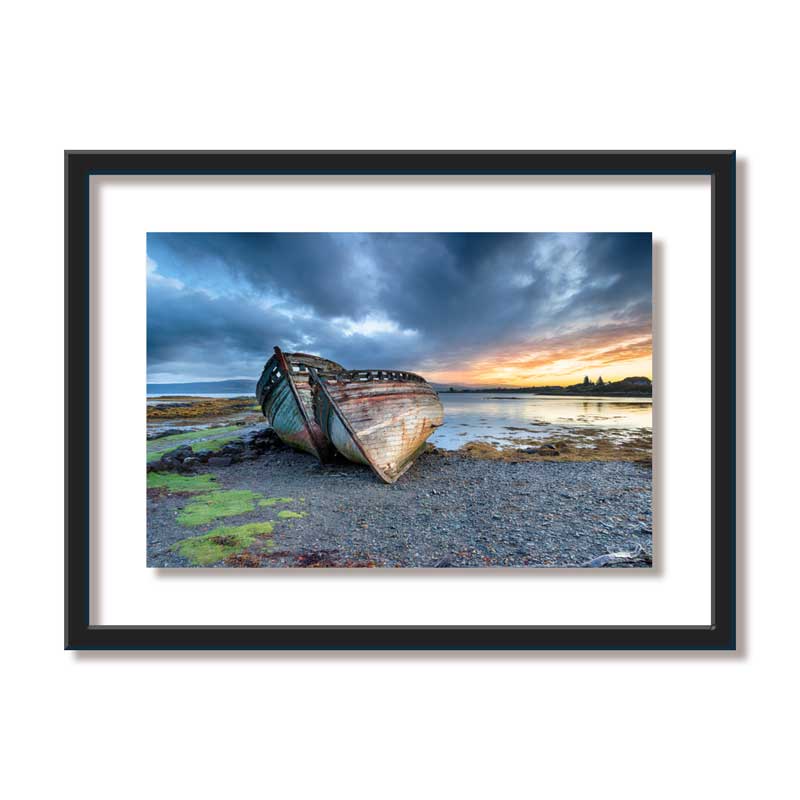
Giclee - Paper Prints
One of the largest ranges of paper selections, while using the highest level of archival print technology allowing superior detail and color, you can create custom giclee prints of your artwork and photos.
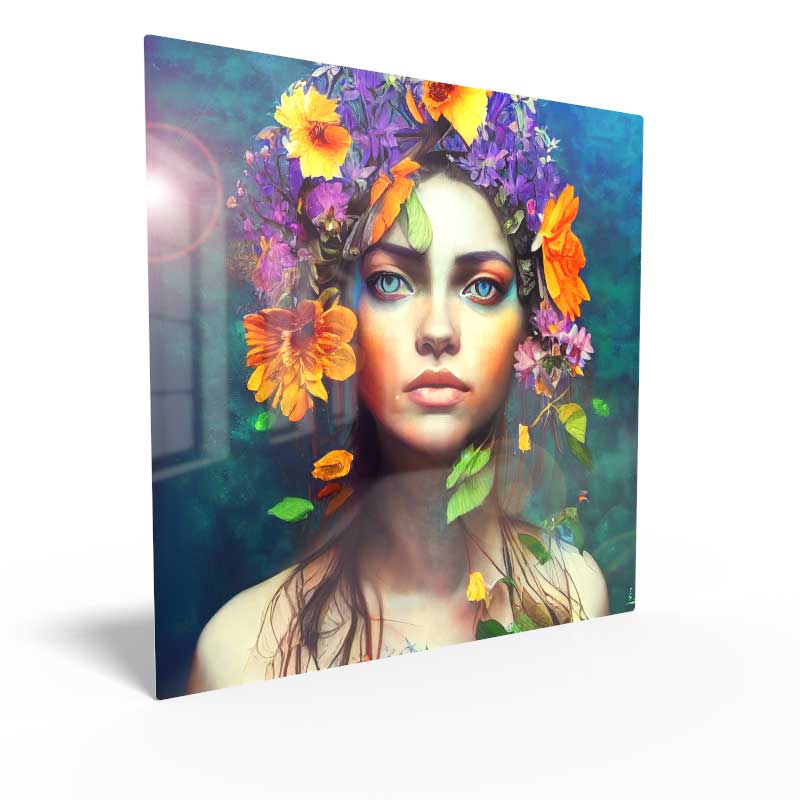
Metal - HD Metal Prints
Your art or photography will achieve a timeless illuminated look only possible with what a metal print can provide.
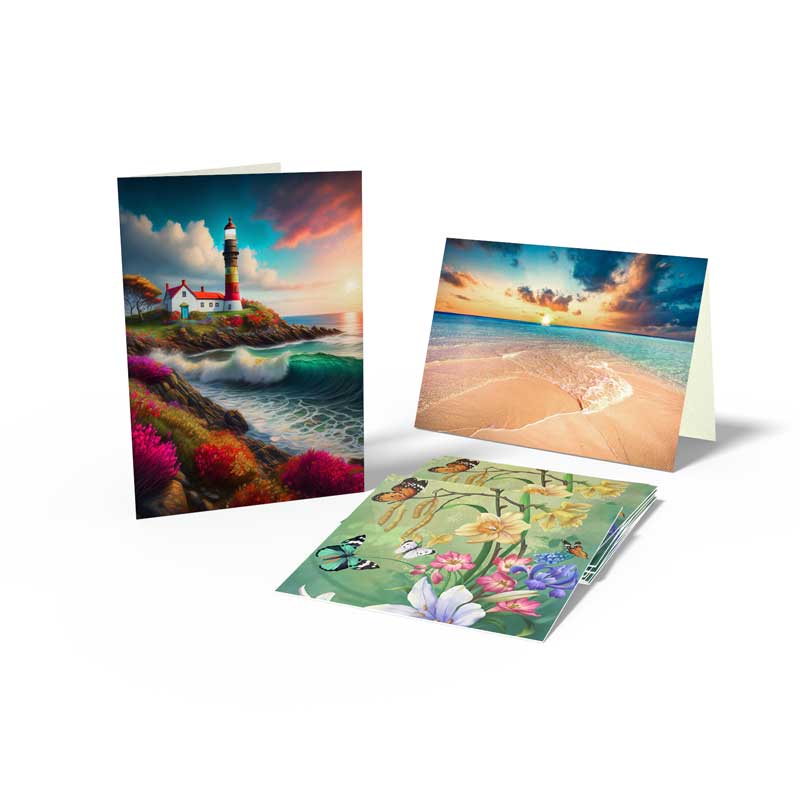
Cards
Multiple surface finishes, sizes and styles on card stock allows you to create folded and flat cards for any occasion with your artwork or photography. Order just one or take advantage of bulk pricing.
Acrylic Prints - Floating Framed
Your image is printed directly in the center of acrylic glass and inserted into a contemporary style frame.
Acrylic Glass Prints
Transform your space with our sophisticated Acrylic Glass Prints, featuring exceptional clarity and durability to showcase photography, art reproductions, or commercial applications with modern elegance.
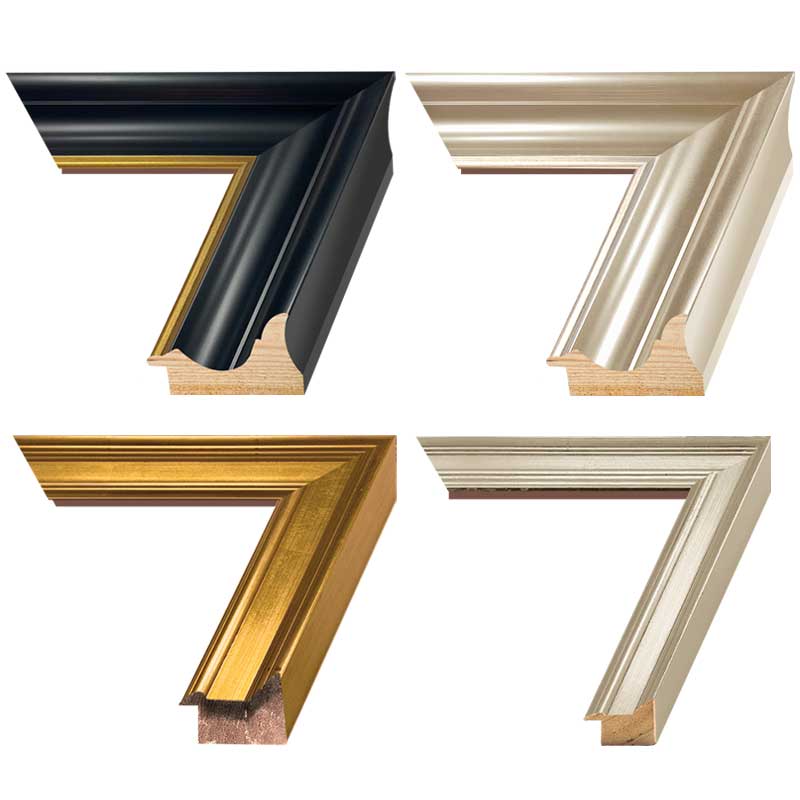
Frames & Mats
Order with your print or seperate. Over 200 frame styles to choose from. All are professional frame shop level mats & mouldings, but at a reseller price!
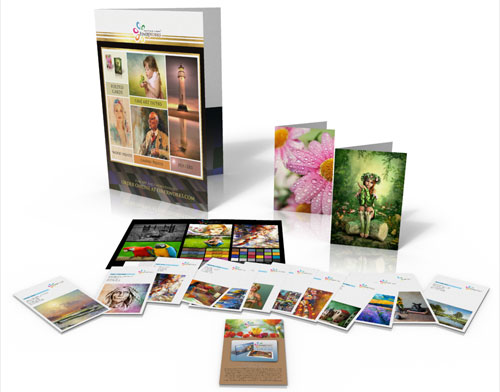
Sample Kit
This starter kit allows you to see small printed samples from our most popular media types we offer artists and fine art photographers. For a little more add the Metal Prints choice to see the different type of metal surfaces you can order and how they affect tones in an image.